
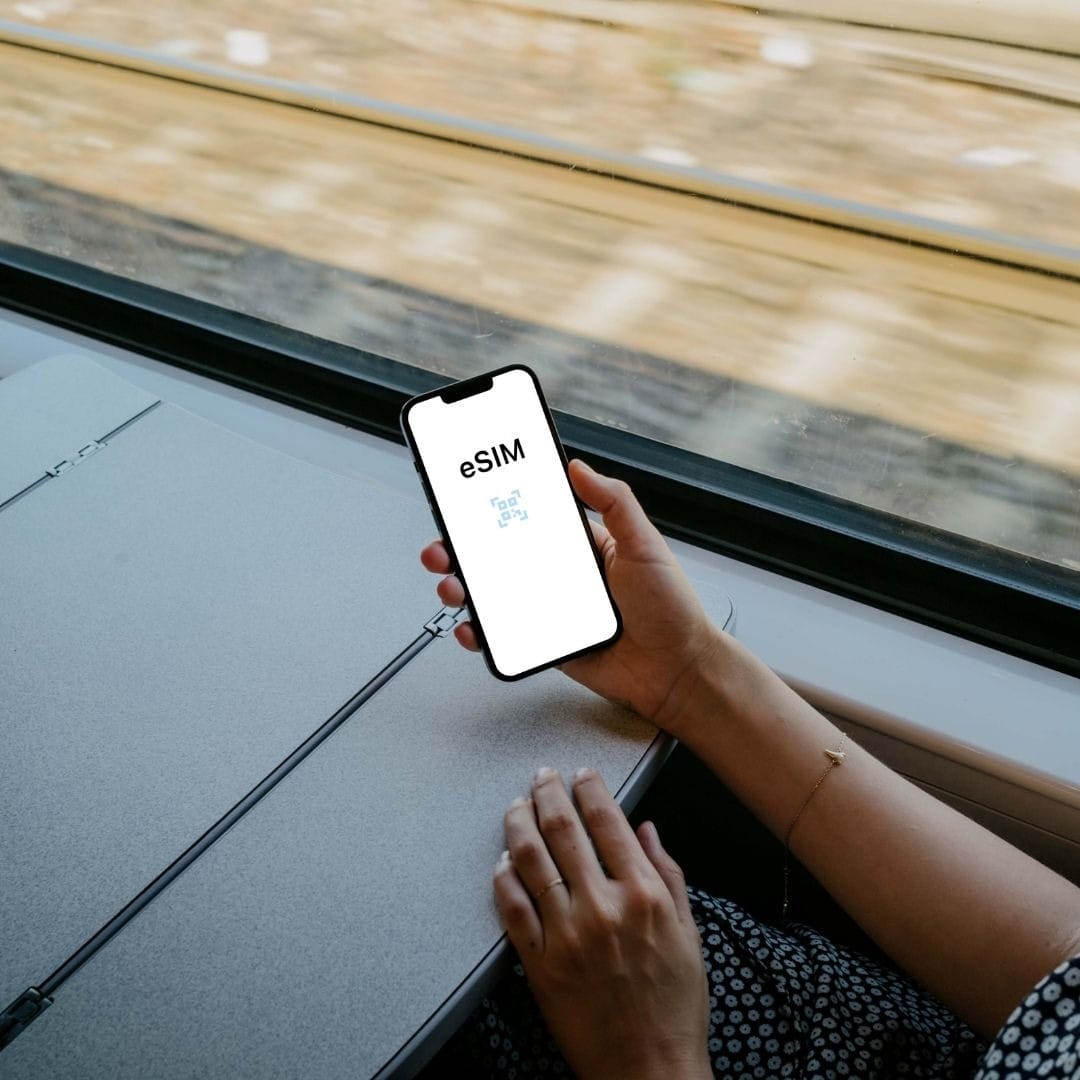
Got a new iPhone and need to move your number? You are not swapping a plastic card anymore. Since 2022, every iPhone 14 model and later sold in the United States ships with no physical SIM tray at all, which means your line lives as an eSIM. The good news: moving that eSIM takes minutes, not a trip to the store. This guide shows you every method, from Apple’s one-tap transfer to carrier apps and travel eSIMs.
What Is an eSIM, and Why the Transfer Matters
An eSIM is a digital SIM built into your iPhone. You cannot pull it out because it is embedded in the hardware. It stores your phone number and carrier plan as software instead of a chip.
Every iPhone from the XR and XS onward supports eSIM. When you move to a new device, the plan does not travel automatically with your photos and apps. You have to transfer the eSIM on purpose, or your new iPhone stays offline for calls and mobile data.
Before You Start: A Quick Checklist
Sort these four things first. They prevent most failed transfers.
- Both iPhones updated: use the latest iOS on each device to avoid glitches.
- Wi-Fi and Bluetooth on: keep both phones connected and near each other.
- Carrier support: confirm your carrier allows eSIM Quick Transfer. Most major US carriers do.
- Devices unlocked: a carrier-locked iPhone can block activation.
One note for travelers. eSIM service is not offered on iPhones sold in mainland China, and only some models support it in Hong Kong and Macao.
How to Transfer Your eSIM From One iPhone to Another With Quick Transfer
Quick Transfer is Apple’s automatic tool. It copies your eSIM from the old iPhone to the new one wirelessly, with no QR code and no call to your carrier. This is the fastest route, and it is the one I recommend for anyone on a major carrier.
Place both iPhones side by side, then follow these steps:
- Turn on your new iPhone and keep it close to the old one.
- Open Settings on the new iPhone.
- Go to Cellular, then tap Add eSIM.
- Choose Transfer From Another iPhone, or Transfer From Nearby iPhone if no number appears.
- A prompt shows up on your old iPhone. Tap Transfer.
- If asked, type the verification code shown on the new iPhone.
- Wait a few minutes for activation to finish.
Once it completes, the eSIM deactivates on your old iPhone. Your number is now active only on the new device. That is the safety feature working as intended.
How to Transfer an eSIM During Initial Setup
You can also do this while setting up a brand new iPhone. When you reach the Set Up Cellular screen, choose Transfer from Another iPhone. Keep the old phone unlocked and nearby with Bluetooth on.
Your old iPhone asks you to confirm the move. Approve it, enter any verification code, and let it finish. Your plan activates as the setup continues. With iOS 26, you can transfer several phone numbers at once, while older versions handle only one at a time.
Manual Methods: Carrier App or QR Code
Quick Transfer does not always work. Small or regional carriers sometimes skip it. If that is your case, use one of these two manual paths.
Carrier app method:
- Download your carrier’s official app on the new iPhone, such as My Verizon, T-Mobile or AT&T.
- Sign in with your account credentials.
- Find a section named Manage Device or Transfer Cellular Plan.
- Follow the prompts to move the eSIM.
QR code method: contact your carrier and ask for a new eSIM QR code. On the new iPhone, go to Settings, then Cellular, then Add eSIM, and scan the code.
Moving a Travel eSIM to Your New iPhone
Travel eSIMs behave differently from carrier lines. Apple’s Quick Transfer usually cannot move a data plan from a third-party travel provider. Do not delete it from your old phone before you check the rules.
For most travel plans, you re-install the eSIM through the provider instead of transferring it. Reputable providers make this simple through their app or a fresh QR code. A service like Holafly lets you reinstall or activate a data plan directly, so a new phone never means losing your connection abroad. Always contact the provider first if your remaining data is tied to a specific device.
Troubleshooting When the Transfer Fails
Stuck mid-process? Work through this list before you panic.
- Update iOS on both iPhones, then try again.
- Confirm carrier support for eSIM transfers. Some need to activate the plan on their end.
- Reset Network Settings on the new iPhone through Settings, General, Transfer or Reset iPhone. This clears saved Wi-Fi passwords, so keep them handy.
- Restart the new iPhone and start the transfer from scratch.
- Call your carrier if activation still fails. They can push the eSIM manually.
Once your line is live, you can finally enjoy the fun parts of the new device, like tidy home screen widgets and the moon phase emoji that many iPhone owners add to their lock screen.
Frequently Asked Questions
Do I need both iPhones to transfer an eSIM?
For Quick Transfer, yes. Both devices must be on and near each other. If you no longer have the old iPhone, ask your carrier for a QR code or use their app to reinstall the eSIM.
Will my old iPhone keep the number after the transfer?
No. Once the new iPhone activates the plan, the eSIM deactivates on the old device. Your number can only be active on one iPhone at a time.
How long does an eSIM transfer take?
Quick Transfer usually finishes in a few minutes. Manual carrier activation can take longer if a support agent has to process it.
Can I transfer more than one phone number at once?
Yes, if both iPhones run iOS 26 or later. Earlier versions only let you move one number per transfer.
What happens to my travel eSIM data?
Travel data plans often stay tied to the original device. Reinstall through your provider rather than deleting the eSIM, and check their transfer policy first to protect your remaining balance.
